
Beginner's Guide to Shooting Film in Italian Light
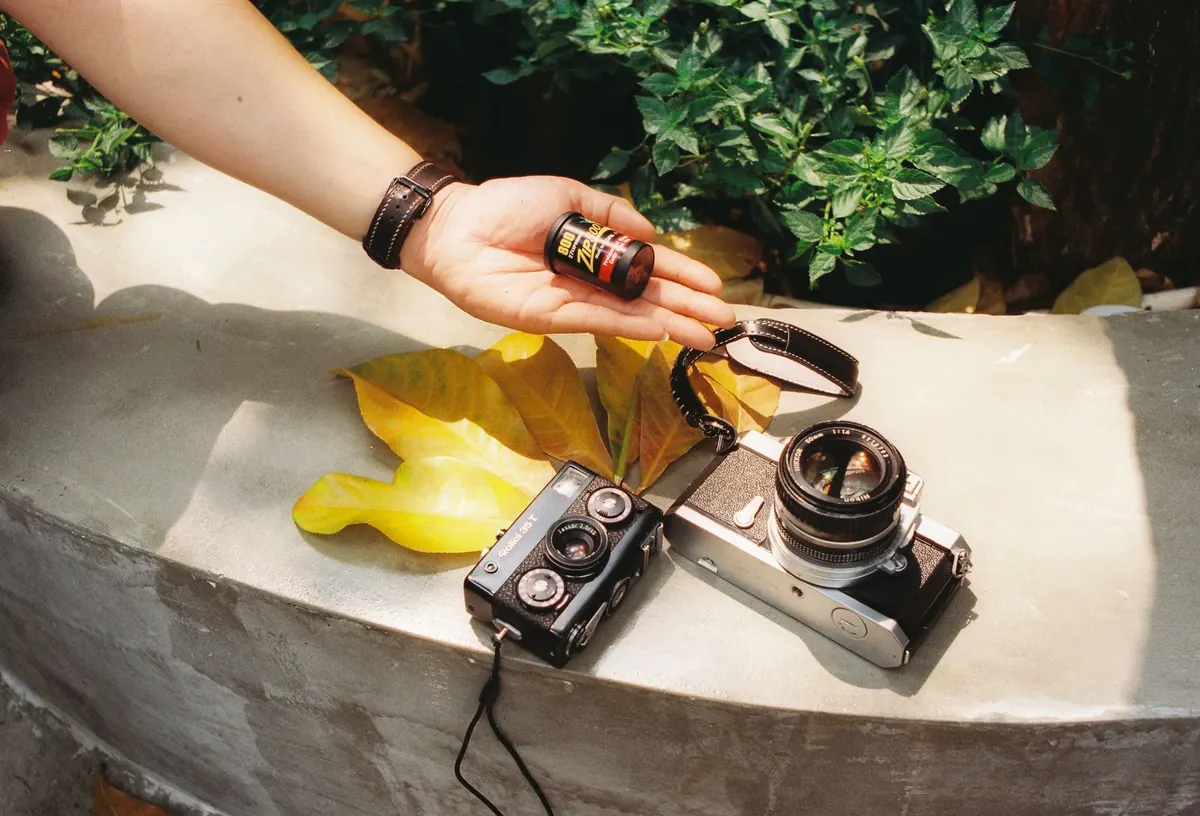
Italy hands you light in extremes. Step out of a station in July and it hits the pavement hard, throwing short black shadows and bouncing a second, warmer light off every ochre wall. Come back at eight in the evening and the same street is soft, gold and entirely forgiving. Film loves both versions of that light, but it doesn't adapt on its own. Meter for a grey northern afternoon and your highlights will blow out; trust the camera's meter in a sunlit piazza and your subjects become silhouettes. A few habits will get you the rest of the way.
Read the light before you load the film
Italian light changes with latitude, season and hour, and those differences matter far more on film than on a phone. In the north — the lakes, the Po valley, the Dolomites — summer light is softer and often hazy, and the sun sits lower for longer. Sicily and the south are another story: harder edges, deeper shadows, a sky that reads almost white at noon.
Two things shape most of what you'll shoot. The first is angle. From late morning to mid-afternoon in summer the sun is close to overhead, so shadows are short, contrast is high, and faces get very little modelling. The second is bounce, which people underestimate. Italy is built of pale stone, terracotta, chalky plaster and shallow water, and all of it throws light back. A narrow street in Naples can be lit from three directions at once; a white marble facade will fill an entire square.
In practice: before ten and after five you can point the camera almost anywhere. Between those hours, work the shade — doorways, awnings, arcades — and save the open piazzas for the evening.
Choose a film that can hold the contrast
For a first trip, a 400-speed colour negative film is the sensible default. It covers a wide range of light, forgives overexposure by a stop or two without complaint, and lets you keep shooting into the evening without changing rolls. Load a 100 or 160-speed film only if you plan to work in bright sun all day and want finer grain; it will punish you at dusk.
Black and white suits Italy well, because the country is full of graphic material: shutters, laundry lines, arches, striped umbrellas. A 400-speed black and white film with a yellow filter darkens a pale sky just enough to bring out the clouds, at the cost of roughly a stop of light.
Slide film is beautiful and unforgiving. Its latitude is closer to half a stop than two, and midday sun will find the limits fast. If you want to try it, treat it as an afternoon and evening film and meter carefully.
Whatever you choose, pick one stock and stay with it for several rolls. Changing film every day means relearning the same lesson in a new language.
Meter for the shadows, not the sky
Colour negative film holds detail in the highlights far better than in the shadows. That gives you a simple rule: expose for the dark parts of the scene and let the bright parts fall where they will. Point a reflective meter at a sunlit wall and it will try to make that wall middle grey, and your photo will land two stops under. Point it at the shaded side of the street instead.
The old sunny sixteen rule is still a reliable sanity check. In full sun, set the aperture to f/16 and the shutter to roughly the reciprocal of your ISO — so 1/400 at f/16 with ISO 400 film — then open up for shade. Bright sand and water need a little more light than the rule suggests; open shade needs three or four stops more than direct sun.
Two habits save a lot of frames. If the sky is in the picture, add a stop or a stop and a half to whatever the meter says. And if a shot matters, bracket it: one frame as metered, one a stop over, one a stop under. Film and processing are cheap next to a return trip.
Shooting through the midday sun
Between noon and four in summer you have three options, and none of them is waiting for better light when you're only in town for two days.
Work the shade
Open shade isn't a compromise; it's often the best light of the day. A doorway, an arcade, the north side of a church — these give you soft directional light with a bright background as a bonus. Watch the colour: under trees you'll pick up a green cast, under awnings a warm one. Correct it later or simply accept it.
Shoot into the light
Backlight at noon gives you separation, glowing edges and clean silhouettes. Meter for the subject's shaded side, shield the lens from direct sun with your hand or a hat, and expect flare. A hood helps more than you think.
Let the shadows go black
High contrast is a look, not a mistake. Frame a sunlit wall against a dark archway, expose for the wall, and let the arch go deep. Plenty of good Italian photographs are built exactly that way.
- Carry a small reflector: a menu card, a newspaper, a friend in a pale shirt.
- Reframe rather than fight — move ten steps and the contrast drops.
- Photograph interiors at midday and streets in the evening.
The long golden evening, and what comes after
This is the light people come for. From about an hour before sunset the colour warms, shadows stretch across the pavement, and everything looks better. Which is exactly why you should meter more often, not less: light levels can drop two or three stops in the final half hour, and the meter is reading a scene that changes while you compose.
Check the reading every few minutes and adjust. Handheld, stay at or above 1/60 with a 50mm lens and 1/30 with a 35mm, bracing against walls, railings and café tables. For the blue hour after sunset, when the sky goes deep and cobalt and the streetlights come on, you'll want a tripod or a wall and very steady hands.
Long exposures behave differently on film: very long times lose sensitivity, so you may need to add exposure beyond what the meter suggests. Colour negative film copes more gracefully than slide. Keep a note of what you did so you can repeat it.
The trick is not to fight the sun. It's to decide, frame by frame, whether you want it in the picture or behind you.
A day kit and a simple routine
You don't need much. One body, a 35mm and a short telephoto (or just a 50mm), three rolls of the same film, a lens cloth, a notebook or meter app, and a plastic bag for the afternoon it rains. Add the yellow filter if you're shooting black and white.
Then keep the routine boring:
- Check the light before you leave — the hour matters more than the location.
- Set your exposure before you raise the camera.
- Shoot the roll. Don't hoard frames for a better street; the better street is the one you're standing in.
- Label each finished roll with the film, the ISO you rated it at, and the date.
- Get it to a lab soon, and ask for scans big enough to judge your exposures properly.
If you're flying home with unprocessed film, ask for a hand check at security where it's offered; the newer scanners at some airports are less gentle with film than the old carry-on machines. And keep spare rolls out of the glovebox and out of direct sun.
Most of all, slow down in the heat. Italian light rewards the photographer who sits in the shade with a coffee for twenty minutes and waits for the street to arrange itself.
Photo: Nam Quân Nguyễn / Pexels